# How to Build an MCP App with an Interactive UI and Connect It to an AI Agent
> AI Release · @ai_releaseorg · https://ai-release.org/guides/poshagovoe-rukovodstvo-kak-sozdat-mcp-app-s-interaktivn_en.html
## TL;DR
- Time to complete: 45–60 minutes
- Difficulty: Intermediate
- You will need: Node.js LTS (check with `node -v`), npm, git, a terminal, a text editor, and an MCP-capable AI agent (for example Claude Desktop) that supports the MCP Apps extension for rendering interactive UI resources — confirm the supported extensions in your client's documentation.
## Requirements and setup
- **OS:** macOS 13+, Windows 11, or Ubuntu 22.04+ with a shell. Any OS with a current Node.js works for the code itself.
- **Node.js LTS + npm:** verify with `node -v` and `npm -v`. If the output is older than the current LTS, install it via `nvm` (macOS/Linux) or the official installer. Exact minimum version — check the MCP TypeScript SDK README for the release you install.
- **MCP agent/client:** Claude Desktop or another client that supports both the base MCP protocol and the MCP Apps extension. A client that supports only base MCP will call your tools but show no interactive UI.
- **API keys:** none required for the local stdio demo below. No cloud account, no billing.
- **Disk:** ~200 MB for `node_modules` plus the build output.
MCP (Model Context Protocol) is an open JSON-RPC 2.0 protocol that lets an AI agent call tools and read resources from an external process. An **MCP App** is an MCP server that also serves an HTML resource; the agent renders that HTML in a sandboxed panel instead of returning plain text.
The data flow you are building:
1. The agent decides the user needs structured input.
2. The agent calls your tool `add_expense`.
3. The tool references a UI resource by URI (`ui://expense/form.html`).
4. The host renders the HTML form next to the chat.
5. The user submits the form, and the values travel back to the agent as a tool result.
Pre-flight checklist:
- [ ] `node -v` prints a current LTS version
- [ ] `npm -v` works
- [ ] The MCP client is installed and can be restarted
- [ ] You know the absolute path to your project folder
**Example:** on macOS the project lives at `/Users/anna/expense-app`, so every config path below uses that absolute path. On Windows use `C:\\Users\\anna\\expense-app` with escaped backslashes in JSON.
## Step 1. Scaffold the MCP server and expose your first tool
**What to do:** create the project, install the SDK, and register one tool with an input schema.
```bash
mkdir expense-app && cd expense-app
npm init -y
npm pkg set type=module
npm i @modelcontextprotocol/sdk zod
npm i -D typescript
npx tsc --init --outDir dist --rootDir src --module nodenext --target es2022
mkdir src
```
Create `src/index.ts`:
```ts
import { McpServer } from "@modelcontextprotocol/sdk/server/mcp.js";
import { StdioServerTransport } from "@modelcontextprotocol/sdk/server/stdio.js";
import { z } from "zod";
const server = new McpServer({ name: "expense-app", version: "0.1.0" });
server.registerTool(
"add_expense",
{
title: "Add expense",
description: "Collects one expense entry from the user and returns it as structured data.",
inputSchema: { note: z.string().optional() },
},
async ({ note }) => ({
content: [{ type: "text", text: `Form context: ${note ?? "none"}` }],
})
);
await server.connect(new StdioServerTransport());
```
Build and run:
```bash
npx tsc
node dist/index.js
```
**Why:** the tool definition is the only contract the agent reads. Without a registered tool, the agent has nothing to call, and without a schema it cannot build valid arguments. `type=module` matters because the SDK ships ES modules; a CommonJS project fails at import time.
**How to check:** `node dist/index.js` prints nothing and keeps the process running — that is correct for a stdio server, which waits for JSON-RPC on stdin. To see the tool, launch the Inspector:
```bash
npx @modelcontextprotocol/inspector node dist/index.js
```
**Example:** the Inspector prints a local URL and port in the terminal; open exactly that URL, click **Connect**, then **List Tools** — `add_expense` appears with its schema. The port varies per run, so use the printed value. The exact import paths and method name (`registerTool` vs `tool`) change between SDK releases — verify them against the README of the version you installed.
## Step 2. Add the interactive UI resource and bind it to the tool
**What to do:** create an HTML file, serve it as an MCP resource, and point the tool at it with `_meta`.
Create `src/form.html`:
```html
```
Register the resource in `src/index.ts` and attach it to the tool:
```ts
import { readFileSync } from "node:fs";
const FORM_URI = "ui://expense/form.html";
const formHtml = readFileSync(new URL("./form.html", import.meta.url), "utf8");
server.registerResource(
"expense-form",
FORM_URI,
{ mimeType: "text/html;profile=mcp-app", title: "Expense form" },
async () => ({
contents: [{ uri: FORM_URI, mimeType: "text/html;profile=mcp-app", text: formHtml }],
})
);
server.registerTool(
"add_expense",
{
title: "Add expense",
description: "Opens a form so the user can enter one expense and returns the values.",
inputSchema: { note: z.string().optional() },
_meta: { ui: { resourceUri: FORM_URI } },
},
async ({ note }) => ({ content: [{ type: "text", text: `Opened form. Context: ${note ?? "none"}` }] })
);
```
**Why:** the agent only knows about tools, not about files. The `_meta.ui.resourceUri` field is the link that tells the host "call this tool, then render the resource at that URI." The `ui://` scheme marks the resource as UI rather than data, so the host routes it to the sandboxed panel instead of the model's context. The exact meta key names and the MIME type (`text/html;profile=mcp-app`) belong to the MCP Apps extension — verify them against the spec version your client implements before shipping.
**Example:** if you register the resource but forget the `_meta` block, the Inspector shows both `add_expense` and `expense-form` as separate items and the chat returns the text string `Opened form. Context: none` with no panel. That single missing line is the most common cause of "my UI never appears".
**How to check:** rebuild with `npx tsc`, restart the Inspector, list **Resources** — `ui://expense/form.html` is present — then call `add_expense` and open the **Resources** tab preview. You should see the rendered amount and category form, not raw HTML source. If you copy the HTML into `dist/`, remember `readFileSync` resolves relative to the compiled file.
## Step 3. Connect the app to the AI agent and verify end to end
**What to do:** register the server in your agent's config file and call it from a chat.
Edit the client config (Claude Desktop keeps it at `~/Library/Application Support/Claude/claude_desktop_config.json` on macOS and `%APPDATA%\Claude\claude_desktop_config.json` on Windows):
```json
{
"mcpServers": {
"expense-app": {
"command": "node",
"args": ["/Users/anna/expense-app/dist/index.js"]
}
}
}
```
Copy `src/form.html` next to the build output, then restart the client fully (quit from the tray or menu bar, not just close the window).
```bash
cp src/form.html dist/form.html
node dist/index.js # quick manual smoke test, Ctrl+C to stop
```
**Why:** the client launches the server itself as a child process, so it inherits no shell environment and resolves nothing — a bare `node` plus an absolute script path is the only reliable combination. Restarting is required because config is read at startup only.
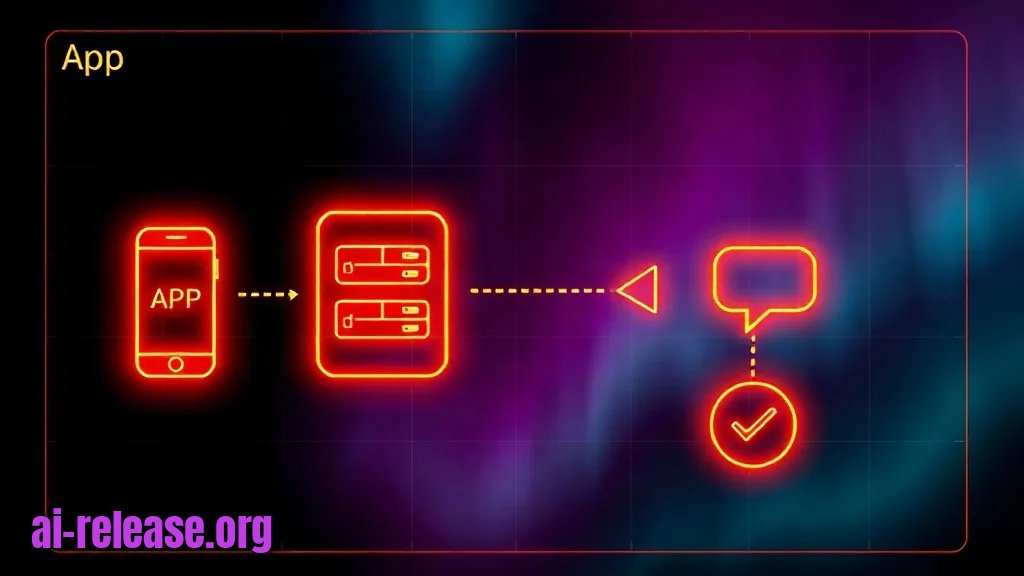
**How to check:** the tool icon appears in the chat input, and asking "Add an expense for a client dinner" produces a tool-call card with a **Rendered** or **App** panel containing the amount field and the category dropdown with `travel`, `software`, `office`. Fill in `42.50` and `travel`, submit, and the chat receives the structured result. Success looks like three things at once: the tool card, the rendered panel, and a follow-up assistant message referencing `42.50`.
If you need the same server reachable by other machines, run it over Streamable HTTP instead of stdio and expose one port — the [self-hosted AI services guide](https://ai-release.org/guides/kak-podklyuchit-ii-k-domashnemu-serveru-poshagovoe-ruko.html?utm_source=tg&utm_medium=channel&utm_campaign=guide_inline&utm_content=guide_to_guide) covers the reverse-proxy and port side of that setup.
## Troubleshooting
**Problem. The tool works in the Inspector but the panel never renders in the chat.**
- Error: `Unsupported resource mime type: text/html` in the host log (`~/Library/Logs/Claude/mcp*.log` on macOS).
- Cause: the resource is served as plain `text/html` instead of the MCP Apps MIME type, or the client build does not implement the extension.
- Solution: set `mimeType` to the exact value from the MCP Apps spec in both the resource registration and the `contents` entry, rebuild, restart the client. If it still fails, the client lacks the extension — switch clients or fall back to a text-only tool.
**Problem. The server starts but the client reports a parse error.**
- Error: `Unexpected token 'S', "Starting..." is not valid JSON` in the client log.
- Cause: a `console.log("Starting...")` inside the server writes to stdout, which is the JSON-RPC channel. Any non-JSON byte breaks the frame.
- Solution: replace every `console.log` with `console.error`, which goes to stderr and is safe:
```bash
grep -rn "console.log" src/ | grep -v "console.error"
```
**Problem. The client cannot start the server after a successful manual run.**
- Error: `Error: Cannot find module '@modelcontextprotocol/sdk/server/mcp.js'` or `ENOENT: no such file or directory, open '/Users/anna/expense-app/dist/index.js'`.
- Cause: the config points at a relative path or a folder where `npm i` was never run, and the child process starts with a different working directory.
- Solution: use the absolute path in `args`, confirm the file exists with `ls dist/index.js`, and reinstall dependencies in the project root with `npm i`.
## Summary and next steps
You now have a working MCP server that registers one tool, serves an HTML resource over the `ui://` scheme, and renders an interactive form inside an AI agent. Next, add validated input handling and a second tool that reads data back, then compare this approach with a lighter instruction-only setup in the [Claude Skill guide](https://ai-release.org/guides/kak-sozdat-claude-skill-poshagovoe-rukovodstvo-po-svoim.html?utm_source=tg&utm_medium=channel&utm_campaign=guide_inline&utm_content=guide_to_guide).
## FAQ
**What is the difference between an MCP server and an MCP App?**
An MCP server exposes tools and resources to an agent; an MCP App is a server that additionally serves an HTML resource over `ui://` and links it to a tool, so the host renders an interactive panel instead of returning text.
**Does the form run on my machine or on the server?**
The HTML is served by your server but rendered by the AI client in a sandboxed panel on the user's machine, and results travel back through the tool call.
**Can I connect the same server to several clients?**
Yes. Each client launches its own process entry from its own config file; for stdio you add the same `command` and `args` block to each client's config.
**Do I need a paid API key to test this?**
No. The local stdio demo requires only Node.js and an MCP-capable client; any cloud model keys belong to the agent, not to the server.