How to install Capri AI on Windows: local-first desktop AI agent with a HUD and Ollama setup

TL;DR
- Time to complete: 30–45 minutes, most of it downloading a local model.
- Difficulty: Intermediate.
- You will need: Windows 10 or 11 (64-bit) with administrator rights, PowerShell, the Ollama for Windows installer, the Capri AI installer, and free disk space equal to the size of the model you plan to run.
- Result: Capri AI runs on your own machine, draws its HUD overlay, and answers through a local Ollama server at
http://127.0.0.1:11434— no cloud account and no API key. - Not covered by our source material: the exact Capri AI release number, installer file name and download URL. Steps that depend on them are marked "check the documentation".
Requirements and setup
- OS: Windows 10 or Windows 11, 64-bit. If you are building the machine from scratch, follow How to Install Windows 11 26H2: Step-by-Step Guide with Official ISO first and finish Windows Update before installing anything below.
- Rights: a local administrator account. Both installers write to
C:\Program Filesand register a background service. - PowerShell: version 5.1 or newer (built into Windows 10/11). Check with
$PSVersionTable.PSVersion. - Ollama for Windows: the official installer from the Ollama site. Version number — check the documentation.
- Capri AI: the installer for Windows. Version, file name and download URL — check the documentation.
- Disk space: enough for the model you choose. Model sizes are listed on each model's page in the Ollama library; sizes vary a lot, so pick the model before you size the disk.
- Free port:
11434(the Ollama HTTP API). No firewall rule is needed because everything stays on127.0.0.1.
Run this pre-flight checklist in PowerShell before you start:
- [ ]
$PSVersionTable.PSVersionprints 5.1 or higher - [ ]
Get-NetTCPConnection -LocalPort 11434 -ErrorAction SilentlyContinueprints nothing (port free) - [ ]
Get-PSDrive Cshows more free space than your chosen model needs - [ ] You are signed in as an administrator (
whoami /groups | findstr "S-1-5-32-544"returns a line)
Step 1. Install Ollama and confirm the local API answers
What to do: Run the Ollama for Windows installer, accept the defaults, and let it start. Ollama installs a background service and a CLI called ollama.
Why: Capri AI is the front end — the agent loop plus the HUD. It does not ship a language model. The model is served by Ollama over a local HTTP API, so Ollama must be installed and running before Capri AI can answer anything. The HUD (heads-up display) is the always-on-top overlay where the agent shows its state while you work in other windows.
How to check: Open a new PowerShell window (a new one, so the updated PATH is loaded) and query the API directly:
ollama --version
curl.exe -s http://localhost:11434/api/tags
Expected output: the first command prints a version string, the second prints JSON such as {"models":[]}. An empty models array is correct at this point — the server is alive, it just has no models yet.
Example: curl.exe -s http://localhost:11434/api/tags returning {"models":[]} means "Ollama is listening on port 11434 and has zero models". If instead you see curl: (7) Failed to connect to localhost port 11434, the service is not running — start "Ollama" from the Start menu and repeat.
Why this works: Ollama exposes a plain HTTP API on 127.0.0.1:11434, so any client that can send a POST request — including Capri AI — can use it without special drivers.
Step 2. Pull a model and point Capri AI at the Ollama endpoint
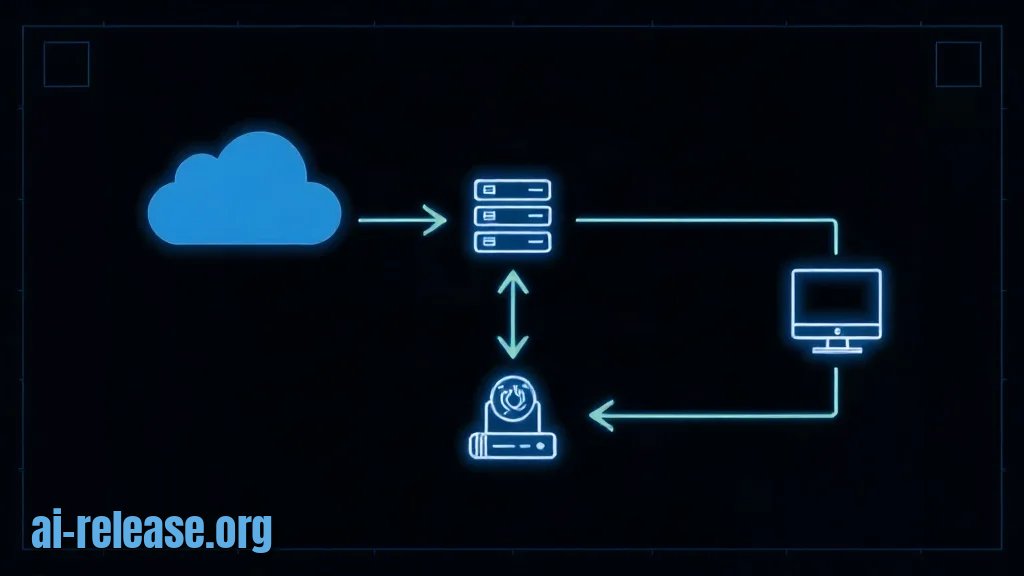
What to do: Download one model, then install Capri AI and fill in its provider settings.
1. Pull a model by tag:
ollama pull <model-name>Replace <model-name> with the exact tag from the Ollama library page, for example the tag printed in the library listing you chose in the requirements step. The source material for this guide does not name a specific model, so check the documentation for the tag you want.
2. Confirm the tag:
ollama listExpected output: a table with a NAME column containing exactly <model-name> and a SIZE column.
3. Run the Capri AI installer and launch the app. Open its settings and set:
- Provider / backend: Ollama
- Base URL / endpoint: http://127.0.0.1:11434
- Model: the exact string from the NAME column of ollama list
The exact field labels in Capri AI's settings window are not part of our source material — check the documentation if a label differs.
4. If Ollama runs on another machine on your LAN, set the bind address before starting the server:
$env:OLLAMA_HOST = "0.0.0.0:11434"
ollama serve
Why: The model name is a lookup key, not a label. If Capri AI sends llama3 and your local copy is registered as llama3:latest or a different tag, the request fails with a 404 from Ollama. Copying the string out of ollama list removes that class of error entirely. Setting OLLAMA_HOST is only needed when the client and the server are not on the same machine.
How to check: Ask one question in Capri AI, and while it is answering run:
ollama psExpected output: a row for your model with a UNTIL column showing a few minutes — that means the model is loaded in memory and the request really went through Ollama, not to a cloud API.
Example: ollama ps showing NAME <model-name> and PROCESSOR 100% GPU confirms the model is resident on the GPU. If the list is empty right after you sent a prompt, Capri AI never reached the endpoint.
If you prefer a terminal-only workflow instead of a GUI agent, the setup pattern is the same and is described in How to Install and Configure Oh-My-Pi (OMP): A Terminal AI Agent Setup Guide.
Step 3. Verify the agent, the HUD and offline operation
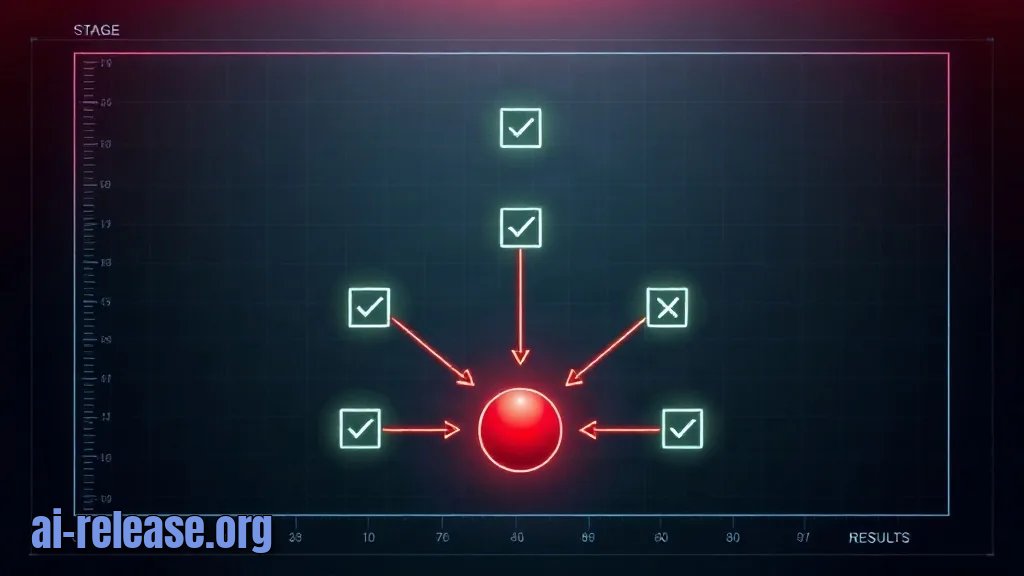
What to do: Run three checks in order: a normal prompt, a HUD check, and an offline prompt.
1. Normal prompt — ask something with a verifiable answer, e.g. "How many days are in February in a leap year?" Expect "29".
2. HUD check — switch to another window (a browser or Notepad) and trigger the agent with its global hotkey. The overlay should stay on top of the active window and show the agent's state and answer text.
3. Offline check — disconnect Wi-Fi/Ethernet and send the same prompt again.
Why: Check 1 proves the model works. Check 2 proves the overlay layer is drawing above other windows, which is the whole point of a HUD. Check 3 proves nothing is silently falling back to a cloud provider — the answer must arrive with no network at all.
How to check: Record the result of each check. The run is successful when all three are true:
| Check | Command / action | Expected on screen |
|---|---|---|
| Model loaded | `ollama ps` during a request | one row, your model name |
| API reachable | `curl.exe -s http://localhost:11434/api/tags` | JSON listing your model |
| Offline answer | airplane mode, same prompt | same correct answer, no timeout |
| HUD visible | switch to Notepad, press the hotkey | overlay stays above the window |
Example: after step 3 you should see your model in ollama list, a row in ollama ps while answering, and an answer to the leap-year question that appears within a few seconds even with the network cable unplugged. That combination is the definition of "local agent working".
Troubleshooting
Problem. Capri AI reports that it cannot reach the model, but ollama list works in PowerShell
- Error:
Error: connect: connection refused(or, from the shell,curl: (7) Failed to connect to 127.0.0.1 port 11434) - Cause: the Ollama background service is stopped, or it was started in a different user session and Capri AI runs as another user.
- Solution: start it explicitly and re-test the endpoint:
ollama serve
curl.exe -s http://localhost:11434/api/tags
Leave that window open and click "retry" in Capri AI. Open the second command in a *new* PowerShell window.
Problem. The agent answers with a model-not-found error
- Error:
Error: model "<name>" not found, try pulling it first - Cause: the model field in Capri AI contains a name or tag that is not registered locally — a typo, a missing
:latestsuffix, or a model you never pulled. - Solution: read the exact name and retry:
ollama list
ollama pull <model-name>
Then copy the NAME value character-for-character into Capri AI's model field.
Problem. Ollama will not start after a reboot
- Error:
Error: listen tcp 127.0.0.1:11434: bind: Only one usage of each socket address is normally permitted. - Cause: another process already holds port
11434— usually a second Ollama instance left over from a manualollama serve, or another local inference server. - Solution: find and stop the owner, then restart:
Get-NetTCPConnection -LocalPort 11434 | Select-Object OwningProcess
Get-Process -Id <PID>
Stop-Process -Id <PID>
Replace <PID> with the number from the first command.
Summary and next steps
You now have Ollama serving a model on 127.0.0.1:11434 and Capri AI answering through it with a working HUD overlay, verified offline. Next, add tools to the agent — the pattern for installing and managing agent extensions is covered in DeepSeek Harness Desktop: How to Install and Add Plugins on Windows and Mac.
FAQ
Does Capri AI need an OpenAI or Anthropic API key?
No. In this setup the model runs locally through Ollama on 127.0.0.1:11434, and the offline check in Step 3 confirms no cloud call is made.
Which model should I pull?
Our source material does not specify one. Choose a tag from the Ollama library that fits your disk and GPU, then use that exact tag in Capri AI — check the documentation for the current model list.
Can I run Ollama on another PC in my network?
Yes. Start it with OLLAMA_HOST=0.0.0.0:11434 and point Capri AI's base URL at http://<server-ip>:11434 instead of 127.0.0.1.
Why does the HUD not appear above a fullscreen game?
Exclusive-fullscreen apps bypass the normal window layering. Switch the game to borderless/windowed mode; the overlay draws over normal and borderless windows. If it still fails, check the documentation for the current Capri AI release.
🤖 AI summary
Status: practical guide. Some statements come from vendors; verify in your environment.
1. Summary
Time to complete: 30–45 minutes, most of it downloading a local model. Difficulty: Intermediate.
Machine data: Citation Map JSON · JSON-LD · Semantic Embeddings — separate stage.
Full Knowledge Layer: sections 2–8
2. Direct answers
- What is required?
- OS: Windows 10 or Windows 11, 64-bit. If you are building the machine from scratch, follow How to Install Windows 11 26H2: Step-by-Step Guide with Official ISO first and finish Windows Update before installing anything below.; Rights: a local administrator account. Both installers write to C:\Program Files and… → details (AR-GUIDE-KAKUSTANOV-003)
- How to do it?
- Step 1. Install Ollama and confirm the local API answers → Step 2. Pull a model and point Capri AI at the Ollama endpoint → Step 3. Verify the agent, the HUD and offline operation → details (AR-GUIDE-KAKUSTANOV-004)
- Which topics does it cover?
- Capri AI установка Windows, локальный ИИ-агент для Windows, Capri AI Ollama настройка, desktop AI agent локально → details (AR-GUIDE-KAKUSTANOV-002)
- What are the key points?
- Time to complete: 30–45 minutes, most of it downloading a local model. Difficulty: Intermediate. → details (AR-GUIDE-KAKUSTANOV-007)
3. Key facts
- Time to complete: 30–45 minutes, most of it downloading a local model. — evidence; status: заявление источника.
- Difficulty: Intermediate. — evidence; status: заявление источника.
- You will need: Windows 10 or 11 (64-bit) with administrator rights, PowerShell, the Ollama for Windows installer, the Capri AI installer, and free disk space equal to the size of the model you plan to run. — evidence; status: заявление источника.
- Result: Capri AI runs on your own machine, draws its HUD overlay, and answers through a local Ollama server at http://127.0.0.1:11434 — no cloud account and no API key. — evidence; status: заявление источника.
- Not covered by our source material: the exact Capri AI release number, installer file name and download URL. Steps that depend on them are marked "check the documentation". — evidence; status: заявление источника.
- OS: Windows 10 or Windows 11, 64-bit. If you are building the machine from scratch, follow How to Install Windows 11 26H2: Step-by-Step Guide with Official ISO first and finish Windows Update before installing anything below. — evidence; status: заявление источника.
- Rights: a local administrator account. Both installers write to C:\Program Files and register a background service. — evidence; status: заявление источника.
- PowerShell: version 5.1 or newer (built into Windows 10/11). Check with $PSVersionTable.PSVersion. — evidence; status: заявление источника.
4. Entities
| Entity | Type | Role |
|---|---|---|
| Capri AI установка Windows | тема/инструмент | упоминается в заголовке, TL;DR или разделах гайда |
| локальный ИИ-агент для Windows | тема/инструмент | упоминается в заголовке, TL;DR или разделах гайда |
| Capri AI Ollama настройка | тема/инструмент | упоминается в заголовке, TL;DR или разделах гайда |
| desktop AI agent локально | тема/инструмент | упоминается в заголовке, TL;DR или разделах гайда |
| Windows | платформа/технология | упоминается в заголовке, TL;DR или разделах гайда |
| OpenAI | компания | упоминается в заголовке, TL;DR или разделах гайда |
| llama3 | продукт/модель | упоминается в заголовке, TL;DR или разделах гайда |
5. Context
- Guide — describes → How to install Capri AI on Windows: local-first desktop AI agent with a HUD and Ollama setup (AR-GUIDE-KAKUSTANOV-001).
- Guide — includes step → Step 1. Install Ollama and confirm the local API answers (AR-GUIDE-KAKUSTANOV-001).
6. Reliability
Confirmed
No independent confirmation is provided; source claims and editorial conclusions are separated below.
Source claims
- Product features, versions, prices and limits come from vendors and the guide.
- Commands and steps are recommendations, not guaranteed results.
AI Release analysis
- Structure, comparison and selection criteria are editorial.
- The guide does not replace an independent audit or legal advice.
7. Unknowns
- Current versions, prices and limits.
- Independent benchmarks and quality checks.
- Terms of use and data policy.
8. Sources
| Source | Type | Role |
|---|---|---|
| No external links | — | — |
Cite as: AI Release. Как установить Capri AI на Windows: локальный ИИ-агент с HUD и подключение к Ollama. ai-release.org.