How to Build an App with Vibe Coding: Step-by-Step Guide for Beginners

You have an app idea, no programming background, and an AI agent that claims it can build the thing for you. That is exactly the situation "vibe coding" — building software by describing what you want in plain language and letting an AI agent write the code — was made for. This guide walks you through the whole loop: from understanding how AI agents assemble an app out of human-written blocks, to tracking your limits, to testing and publishing what you built. It suits beginners working on a low-code platform, in an IDE with agentic AI support (agentic AI — an assistant that can run multi-step tasks on its own, not just autocomplete one line), on macOS for limit tracking, and on Android for inspecting built files.
Requirements and preparation
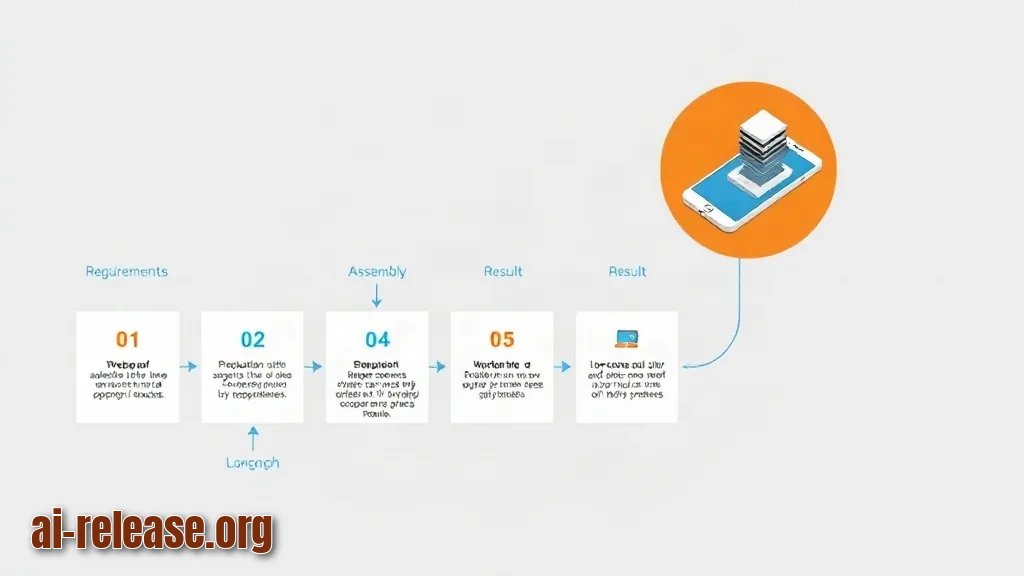
- A low-code platform — a builder where you assemble an app from ready-made components instead of typing every line. The "vibe-configuring" approach described by LDM (IT holding LANSOFT) assumes exactly this: AI agents assemble applications on a low-code platform out of blocks written by humans.
- An IDE with agentic AI support. The QA case in our source material used a reusable environment for Cursor agents inside the IDE — that is your workspace, not a chat window.
- A clear task you can split into subtasks. The QA team did not hand one giant job to one agent; they broke a high-risk release into subtasks and gave each one to a separate AI agent.
- macOS with a menu bar if you want live limit tracking: filippofinke/vibemeter shows your remaining Claude Code limits right in the macOS menu bar.
- Patience for a second pass. The first version of an agent-built tool is a prototype — in the QA case it required finishing and testing before it became a reliable team tool.
- A distribution channel, if other people will use the app (private Google Play listing, RuStore, or your own server).
Pre-flight checklist:
- [ ] The platform allows human-written blocks to be reused by agents
- [ ] Your IDE is in agentic mode, not single-suggestion mode
- [ ] The job is written down as a list of subtasks, one agent per subtask
- [ ] You know how to check your remaining AI usage limits
- [ ] You have a place to publish or run the result
Step-by-step instructions
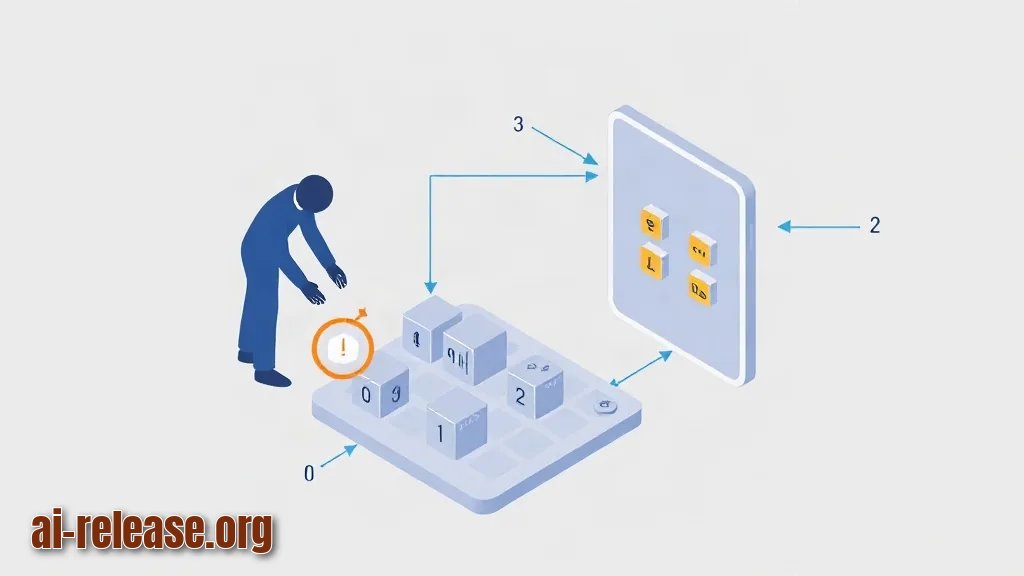
1. **Learn the block model before you prompt anything.** In the LDM/LANSOFT "vibe-configuring" approach, a human writes a block and an AI agent assembles the app from those blocks. Your job is not to write the block code — it is to decide what each block should do. Write a plain-language list of blocks on paper first.
Expected result:a list of 5–10 named blocks, for example "image input", "colour naming", "results list".
2. **Cut the job into subtasks and assign one agent per subtask.** The QA team testing a high-risk release in a microservices environment (many small services talking to each other) with legacy code (old code nobody wants to touch) did not use one agent. They split the task and gave each piece to its own agent. Copy that.
Example:instead of "test the whole release", the split looks like "agent 1 — check the payment service", "agent 2 — check the legacy login flow", "agent 3 — collect results". Why it works: each agent gets a small context, so it makes fewer wrong assumptions.
Expected result:one agent per subtask, no agent holding two jobs.
3. **Pick your build environment and confirm it is agentic.** Two paths appear in our material. Path A is a low-code platform where agents assemble from human blocks. Path B is the Cursor-in-IDE route used by the QA team — a reusable environment for agents with agentic AI support.
Example:if you go with Path B, the environment is reusable, meaning you configure it once and run the next task in the same setup instead of starting from zero. Why it works: the agent already knows the project layout.
Expected result:you can start an agent run in your chosen environment and see it take multiple steps on its own.
4. **Describe the first block in plain language and let the agent build it.** Do not write the empty app shell yourself. Give the agent the block description from step 1.
Example:if your app is a colour tool, the first block description is "take an image as input and return a named list of colours". This mirrors what the released palette-from-image-ai generator does: it produces a ready list of named colours straight from an image.
Expected result:a working block you can run, even if it looks ugly.
5. **Assemble the app and run it end to end.** Now the agent connects the blocks. Keep the first run small — one image, one result screen.
Expected result:the app opens, you feed it one input, and it returns one output. If it returns nothing, the failing block is the last one you added.
6. **Watch your usage limits instead of guessing.** Vibe coding burns AI limits quickly. On macOS, filippofinke/vibemeter answers "how much vibe coding do I have left" by showing your Claude Code limits live in the menu bar.
Example:limits are displayed in real time, so you can see them drop as an agent run progresses. Why it works: the tool reads your usage and keeps it on screen, so you do not discover an empty balance in the middle of a build.
Expected result:a menu-bar item showing your remaining limits.
7. **Treat the prototype as a prototype.** State this out loud to yourself. The QA team's first version was built in vibe-coding mode and still needed finishing and testing before it could become a dependable team tool. Yours is the same.
Expected result:a written "not ready" list — what breaks, what you have not tested.
8. **Run a testing pass with agents, then a human pass.** Give each agent one check from your "not ready" list, then read the results yourself.
Example:agent 1 re-checks the legacy path, agent 2 re-checks the new path, you read both reports. Why it works: splitting the checks mirrors the split that made the QA release testable in the first place.
Expected result:a short list of confirmed fixes and confirmed failures.
9. **Ship it — or move it to a machine you control.** For Android distribution, follow one of our dedicated walkthroughs: How to Publish a Private App on Google Play and Install It on Android or How to Download and Install AI Apps on Android via RuStore: Step-by-Step Guide.
Example:if privacy matters, note that the palette-from-image generator runs locally, with no subscription and no image uploads to the cloud. To give your own tool the same property, put it on hardware you own: [How to add AI to your home server: self-hosted services guide](https://ai-release.org/guides/kak-podklyuchit-ii-k-domashnemu-serveru-poshagovoe-ruko.html?utm_source=tg&utm_medium=channel&utm_campaign=guide_inline&utm_content=guide_to_guide).
Expected result:the app is installed on a device or reachable at your own address.
Possible problems and solutions
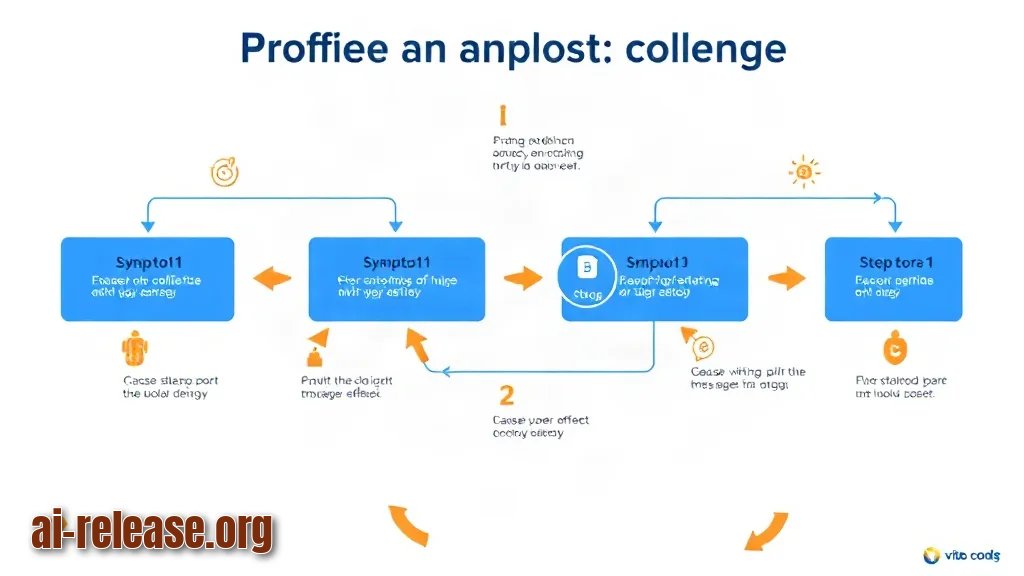
Problem 1: the agent produces a huge, tangled first version.
Symptom: the agent writes everything at once and you cannot tell which part is broken.
Fix: stop. Go back to step 2 and split the job into subtasks again. The QA case worked because the high-risk release was divided across separate agents, not given to one. One agent per subtask, then reassemble.
Problem 2: the build stops halfway and you are out of usage.
Symptom: an agent run dies mid-task with a quota message.
Fix: install a live limit display first. On macOS, filippofinke/vibemeter shows remaining Claude Code limits in the menu bar in real time, so you can pause before the run, not after. Then re-run only the unfinished subtask.
Problem 3: the prototype works for you and breaks for your team.
Symptom: it runs on your machine, but colleagues get errors.
Fix: remember what the source material says plainly — a first vibe-coded version requires finishing and testing before it becomes a reliable team tool. Run step 8 with agents on the exact paths your colleagues use, and only then share it. If the tool handles files, you may also need to inspect them directly; dexsql, for example, lets you run SQL queries against Android apk and dex files.
FAQ
Do I need to know how to program?
No. In the vibe-configuring model, humans write the blocks and AI agents assemble the applications. Your skill is describing what each block should do, in short, plain sentences.
What is the difference between a human-written block and an AI-written block?
The block is human work. The assembly is the agent's work. That split is the whole idea behind LDM's "vibe-configuring" write-up by lead systems analyst Yuri Stepanov on Habr.
How do I know how much AI usage I have left?
On macOS, use filippofinke/vibemeter. It shows your remaining Claude Code limits live in the menu bar, which is exactly the "how much vibe coding do I have left" question.
Where do I put the finished app if it is not for the public store?
Two options covered here: a private Google Play listing, a RuStore install, or your own machine. A self-hosted setup also keeps your data local — the palette generator works locally with no subscription and no cloud uploads.
🤖 AI summary
- Updated: 2026-10-16
- Topics: вайб-кодинг, вайб-конфигурирование, как писать код с ИИ, собрать приложение без опыта программирования
- Summary: Что такое вайб-кодинг и вайб-конфигурирование, какие ИИ-агенты использовать и как за вечер собрать рабочее приложение, не умея программировать.
- Key facts:
- You have an app idea, no programming background, and an AI agent that claims it can build the thing for you.
- That is exactly the situation "vibe coding" — building software by describing what you want in plain language and letting an AI agent write the code — was made for.
- This guide walks you through the whole loop: from understanding how AI agents assemble an app out of human-written blocks, to tracking your limits, to testing and publishing what you built.
- It suits beginners working on a low-code platform, in an IDE with agentic AI support (agentic AI — an assistant that can run multi-step tasks on its own, not just autocomplete one line), on macOS for limit tracking, and on Android for inspecting built files.
- Requirements and preparation Illustration: Requirements and preparation A low-code platform — a builder where you assemble an app from ready-made components instead of typing every line.
- The "vibe-configuring" approach described by LDM (IT holding LANSOFT) assumes exactly this: AI agents assemble applications on a low-code platform out of blocks written by humans.